Reset Scan
Use cameras and devices to ensure games are reset correctly
Written By Emma Williams
Last updated 15 days ago
Reset Scan Rundown Video
Turn on Reset Scan
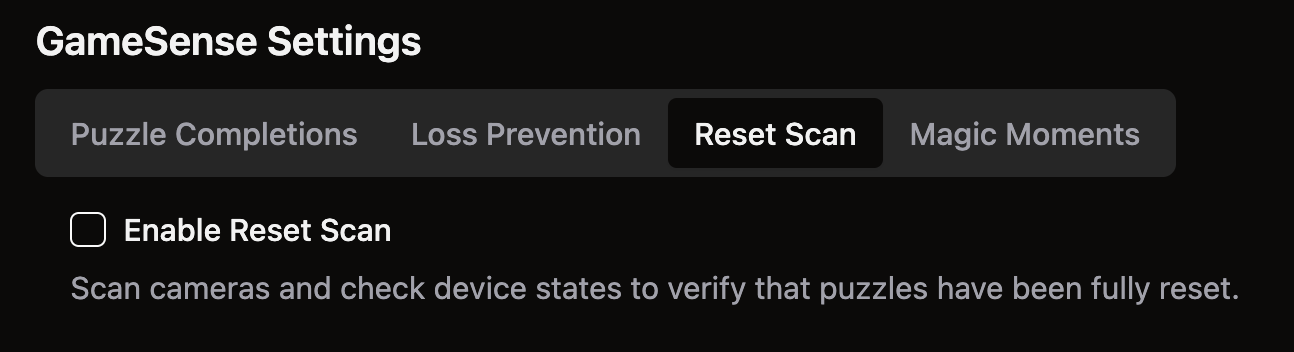
To turn on Reset Scan, navigate to Settings → Game Settings → GameSense → Reset Scan. Checking the box will turn on Reset Scan for this game.
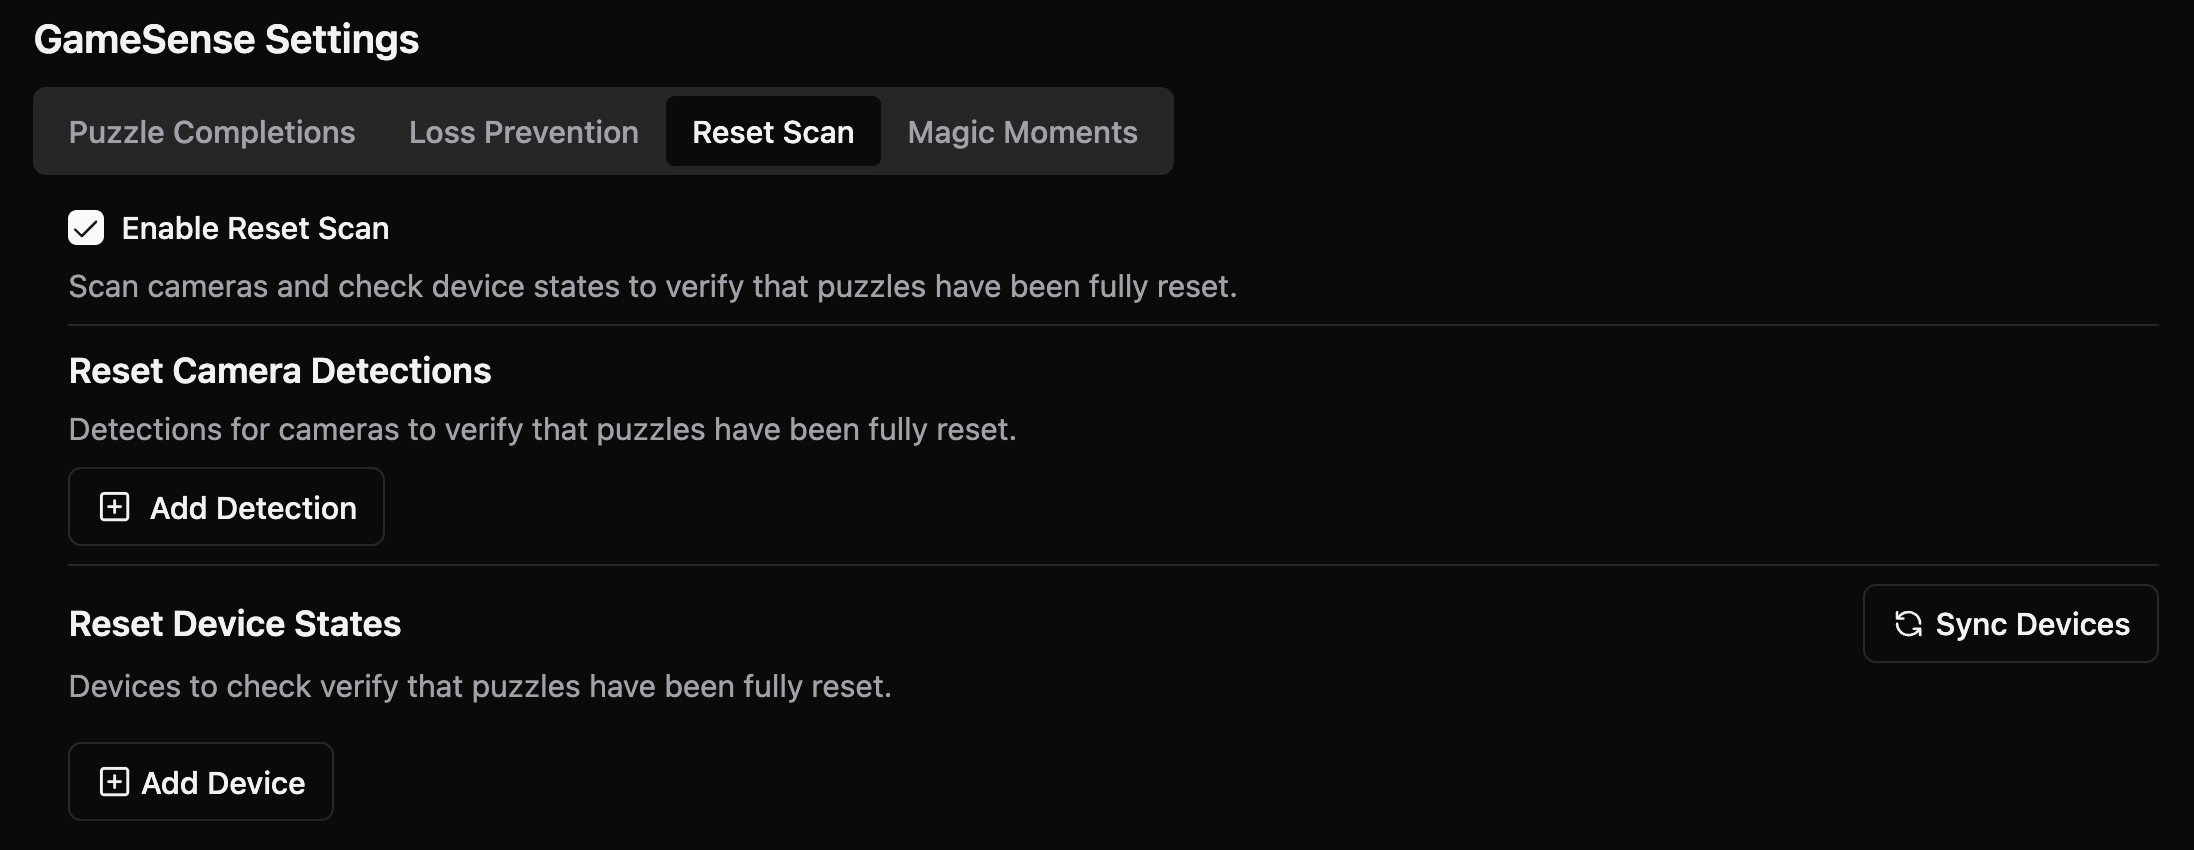
Once Reset Scan has been turned on, we need to input what a correctly reset game should look like. We will do this by ensuring the game is reset correctly and then adding devices to the game and gathering screenshots from the cameras.
Adding Camera Detections
In order for Reset Scan to run camera detections at the correct time, your venue needs to be tracking physical resets. This means you have a reset button for Game Control and a button for Room Reset. Reset Scan will run about 10 seconds after the Room Reset button is pressed.
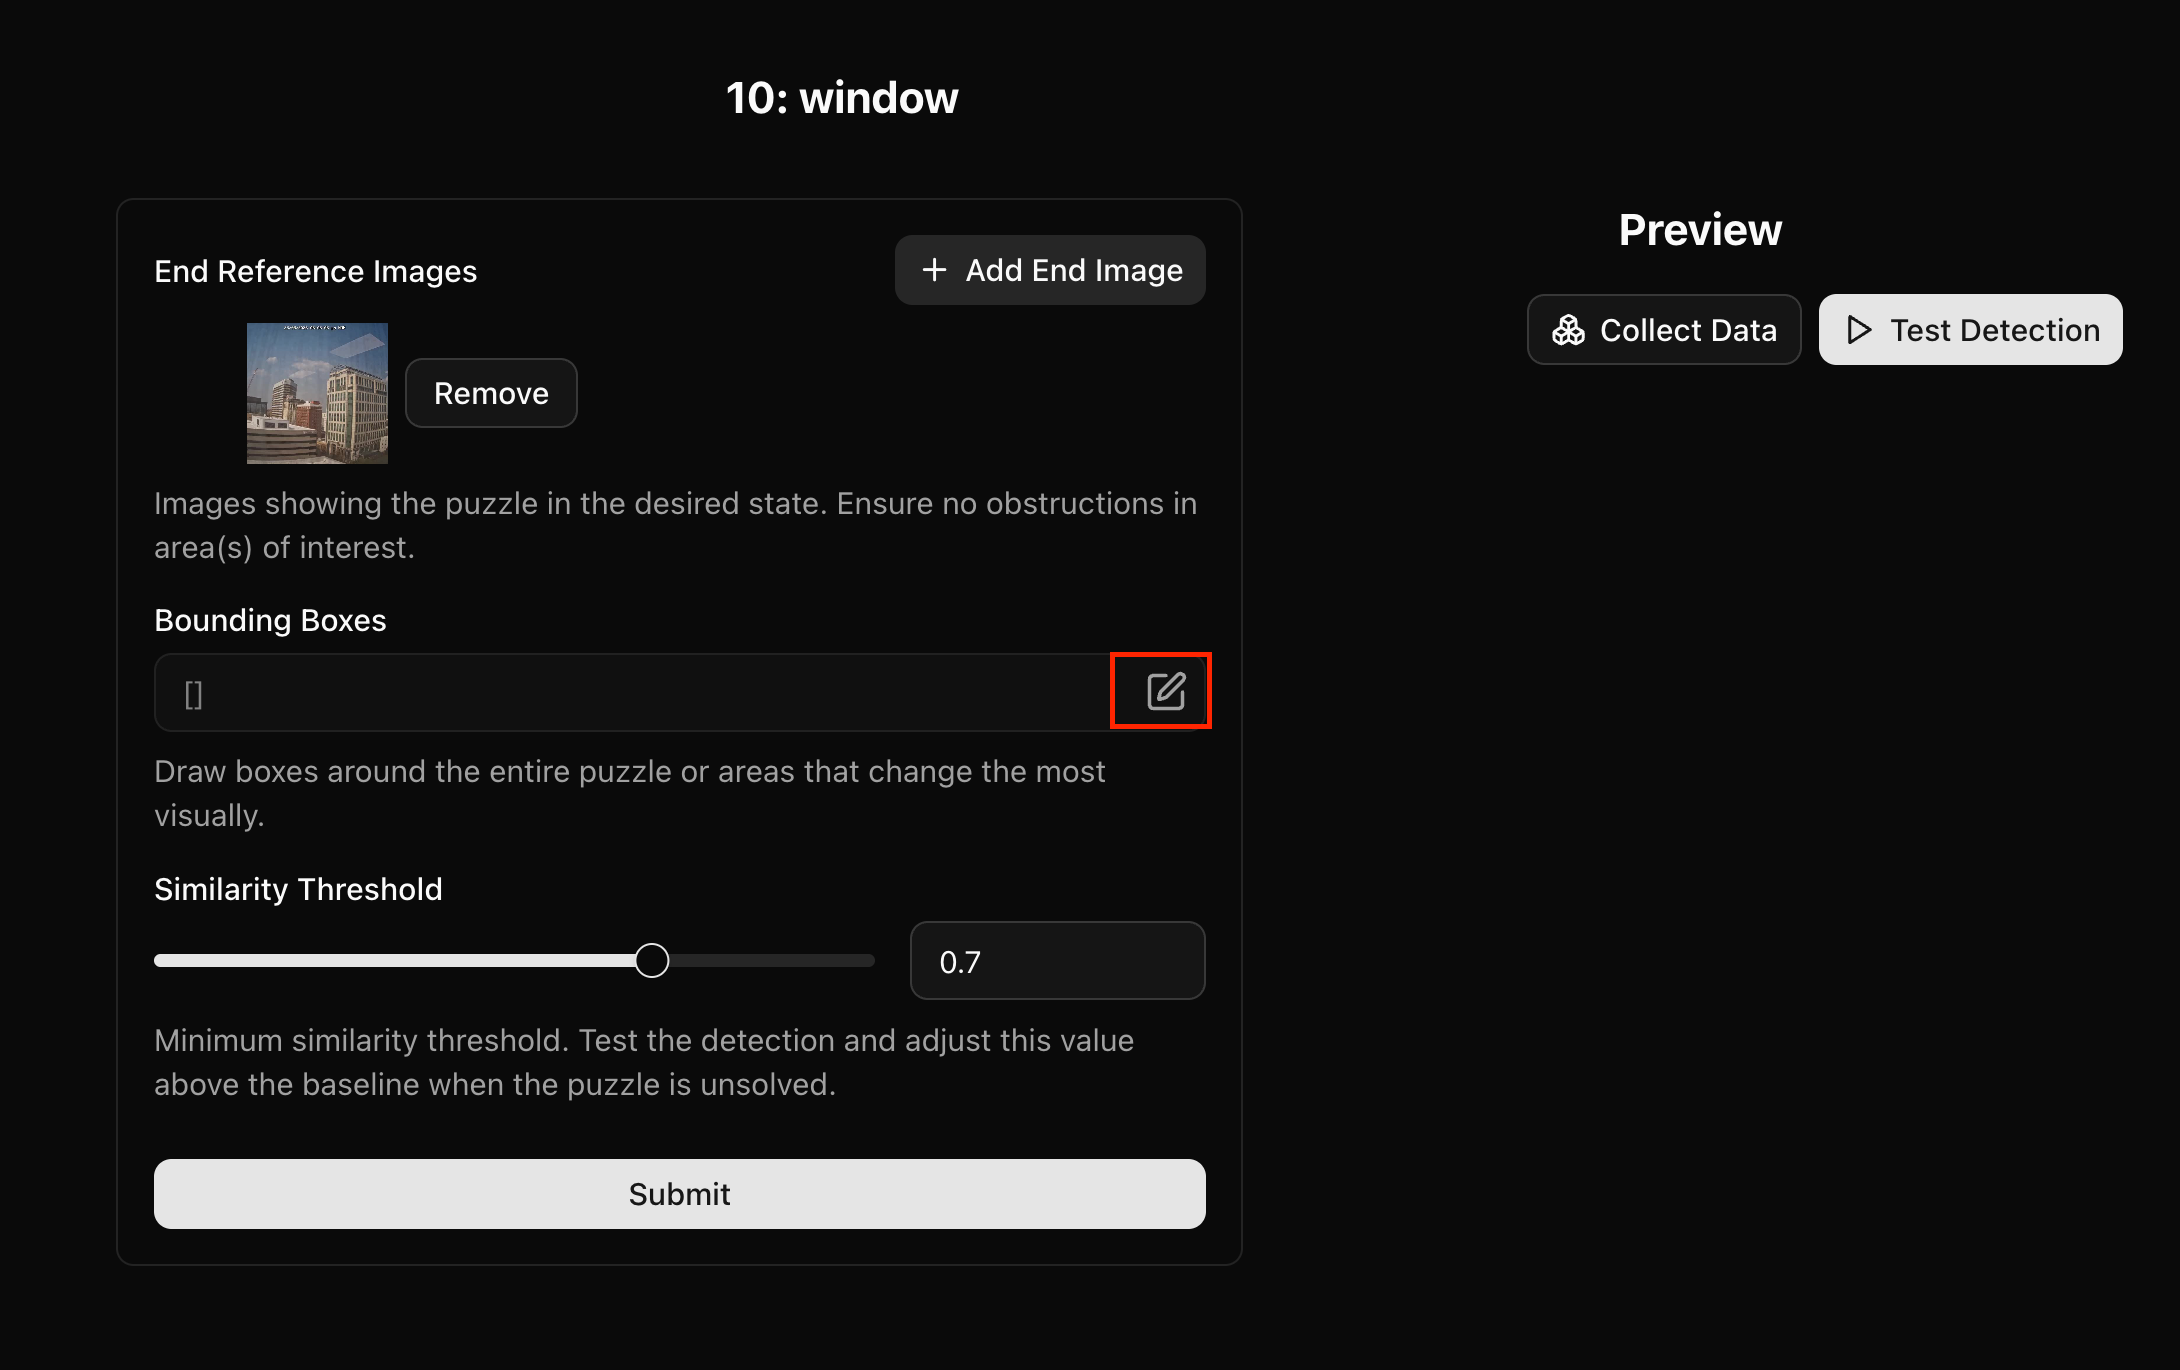
Click Add Detection to start adding reference images for your cameras. You’ll need to select a camera and give it a name. Once you’ve added the name and camera number, hit Configure. This menu will appear.
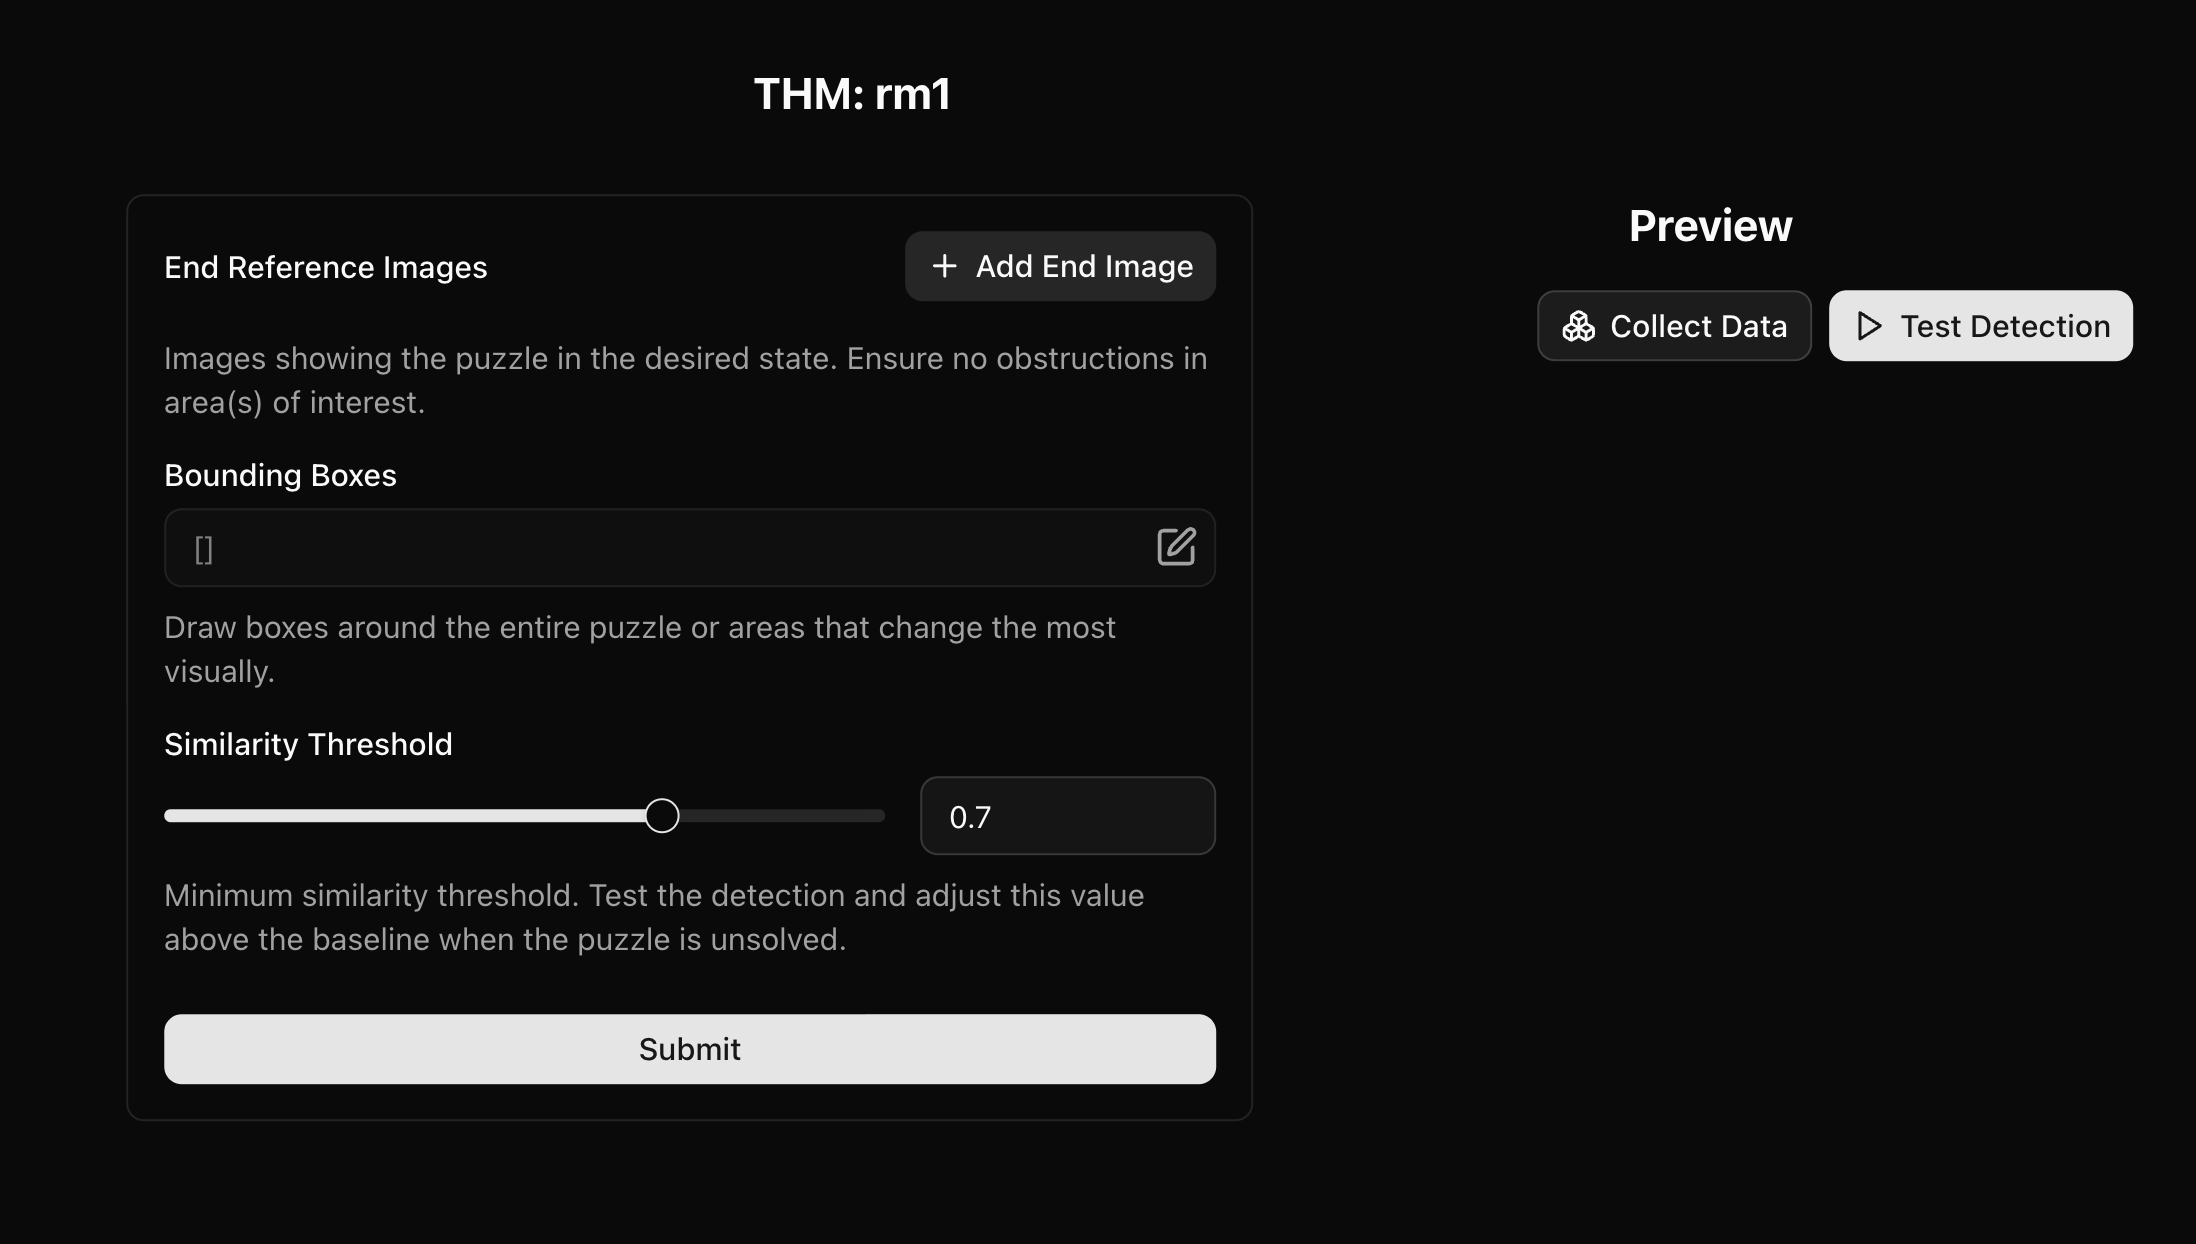
From this menu, hit the Collect Data button. A small visual of what your camera is currently seeing will appear. Once you see the live camera feed, hit Add End Image. This will add the screenshot to the End Reference Image section of the menu. Add a few images, including different lighting conditions if your room has variable lighting.
Next we will need to highlight areas of interest within the frame. Click on the edit button in the Bounding Boxes section.
Adding Areas of Interest
Clicking the edit button will bring up a menu with your first End Reference Image in it. We will use this menu to draw boxes around the relevant areas of the photo.
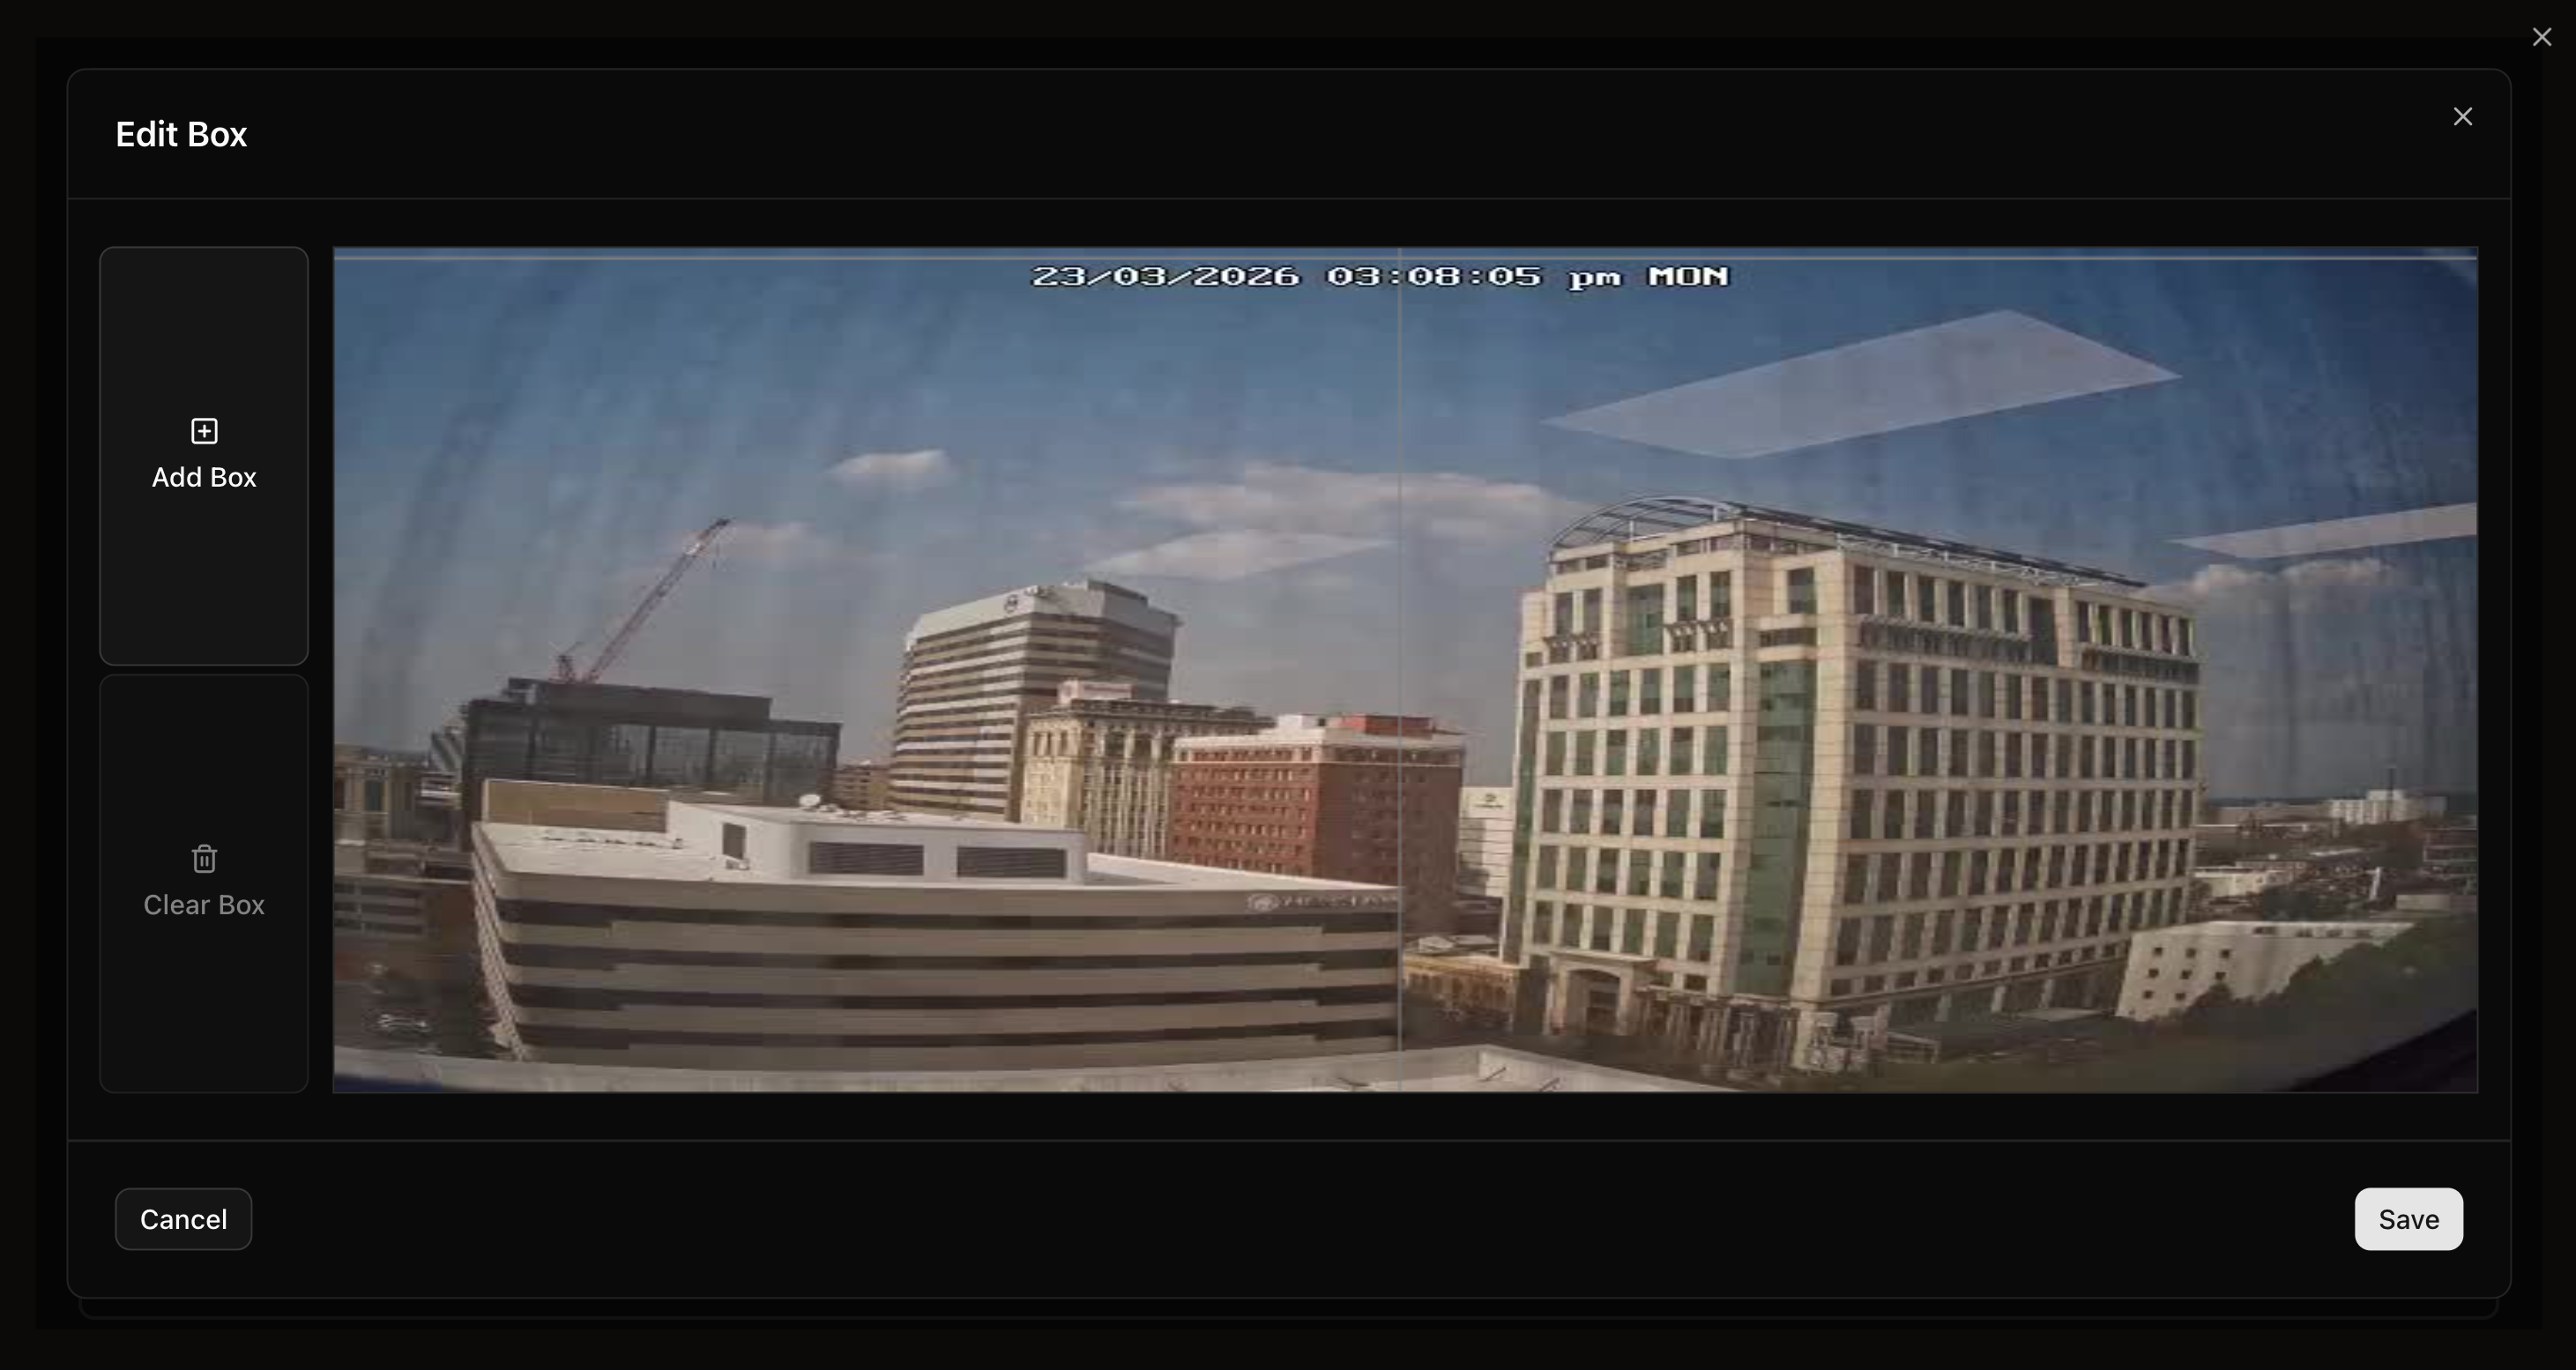
To draw a box, click anywhere on the photo to place the top left corner and then drag until you reach the bottom right corner of the area you’re highlighting.
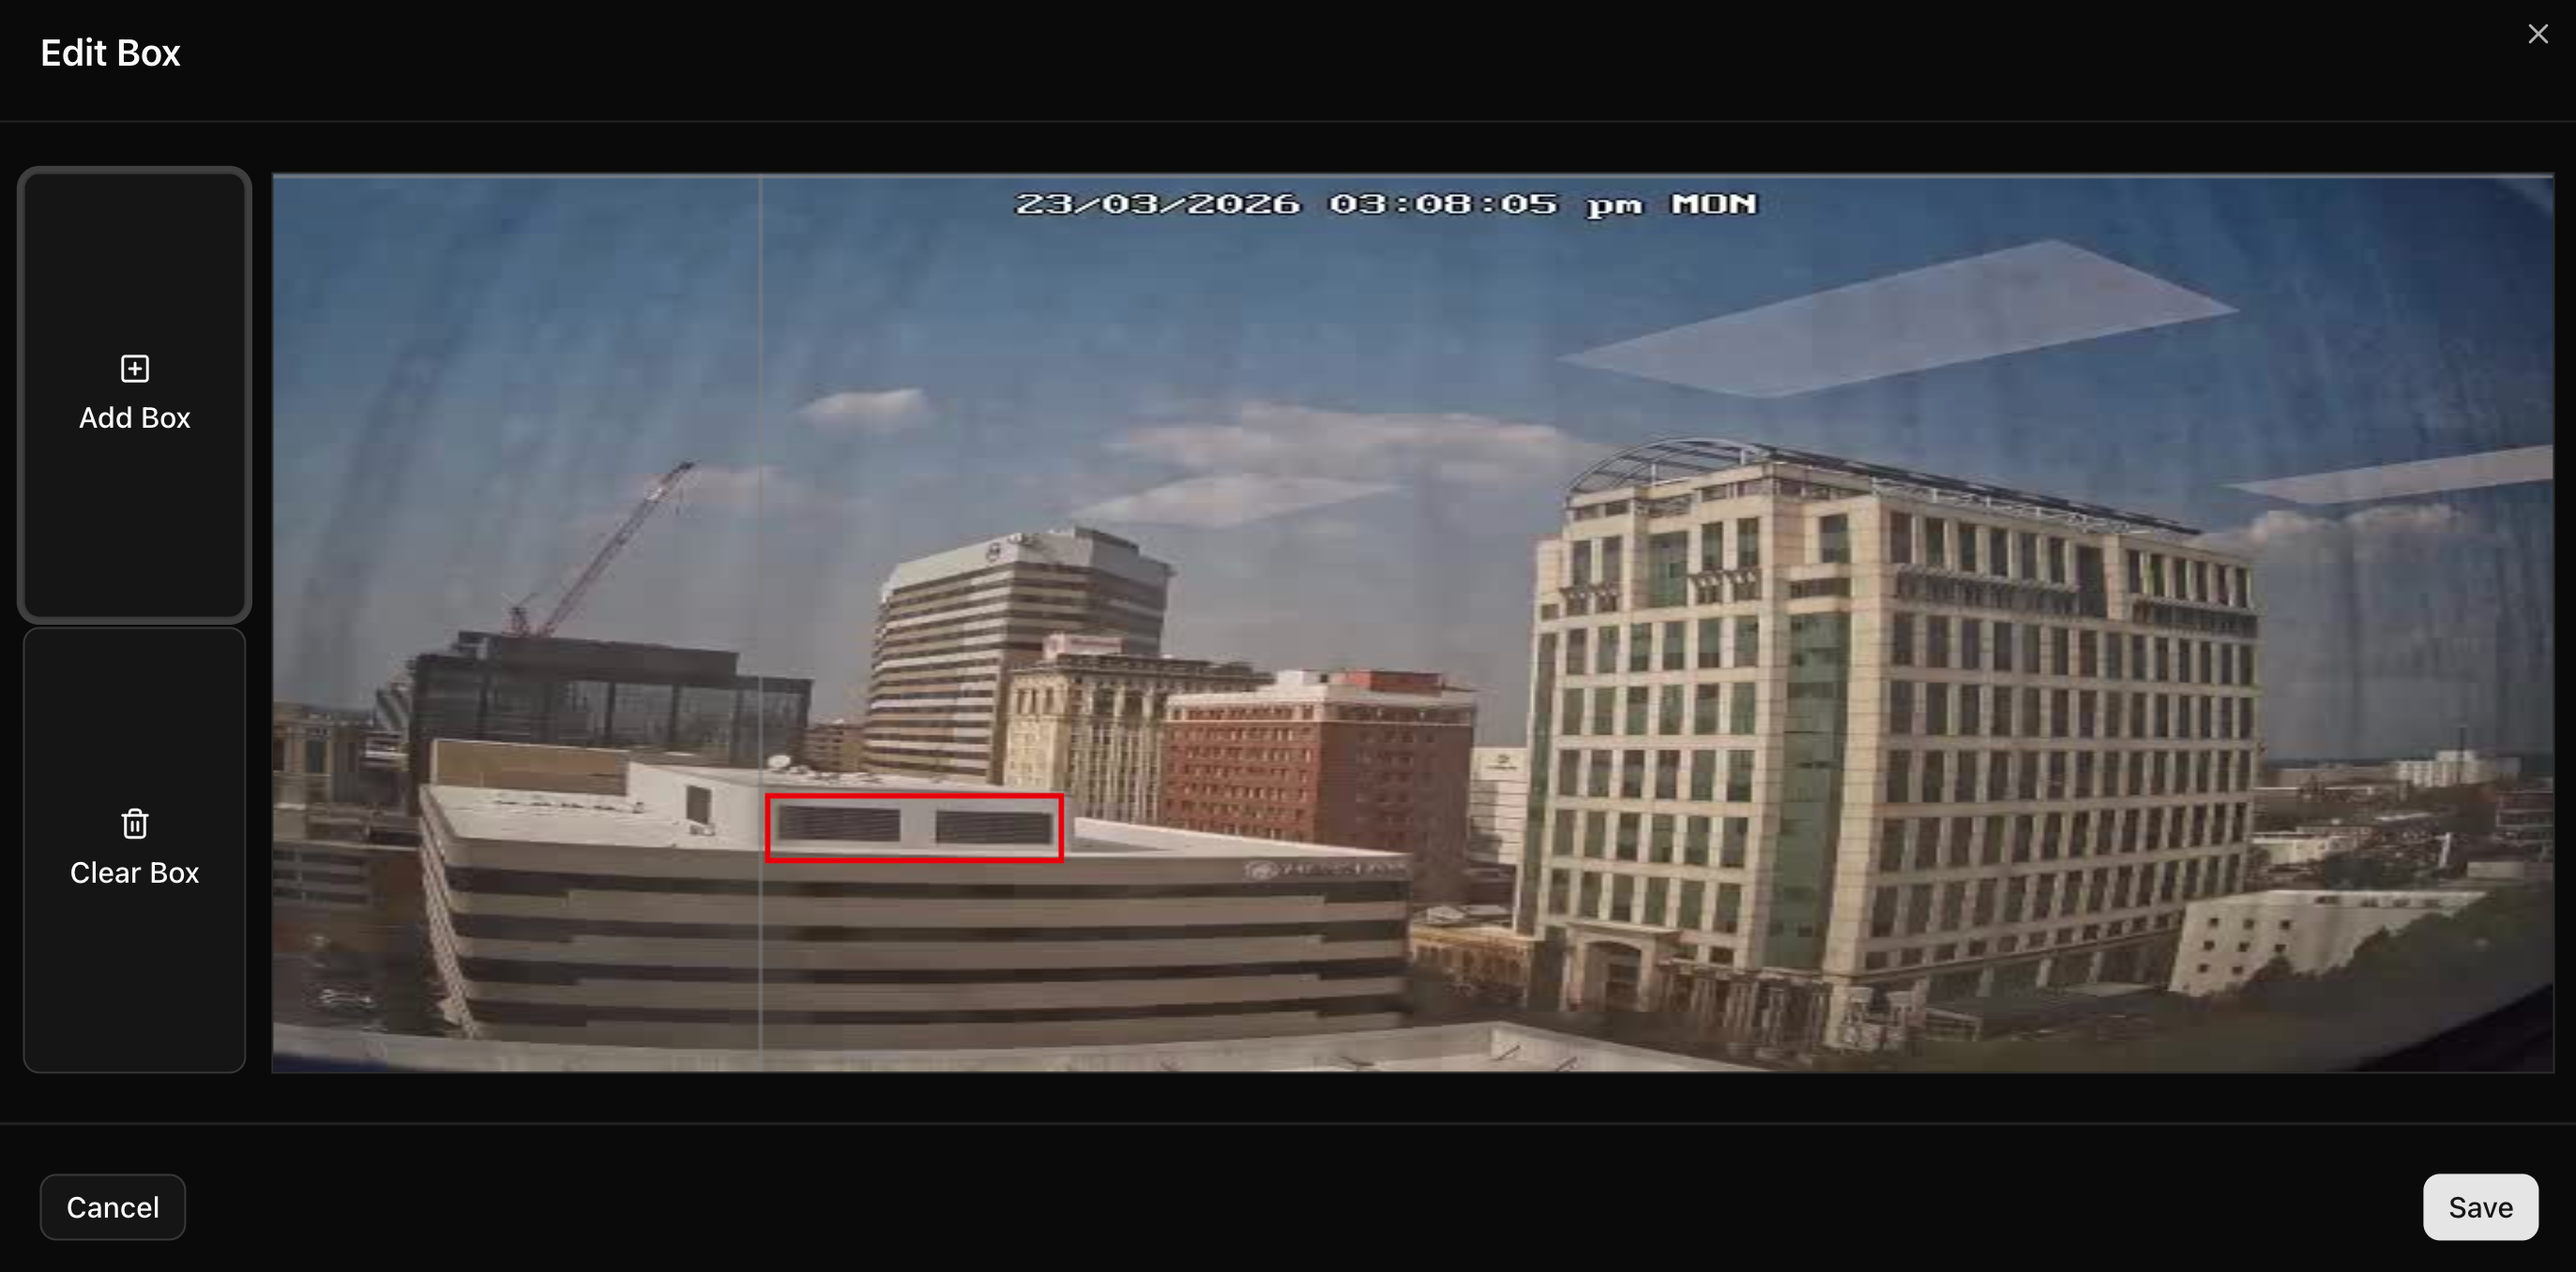
You can draw multiple boxes or clear them to start over.
Be sure to hit save before exiting this menu.
Testing Your Camera Detections
Once you’ve added images and drawn boxes around the areas of interest, you can test your detection to determine where to set threshold levels. Hit the Test Detection button to begin.
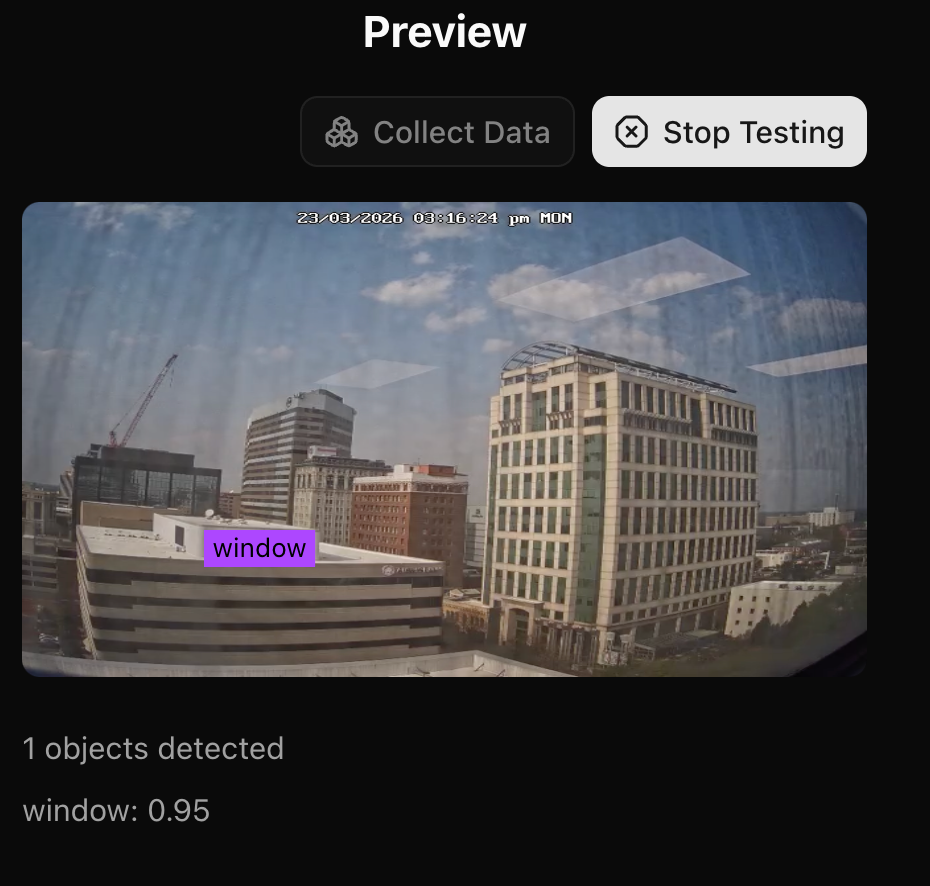
If the camera can see the object or area you’ve selected, a label will pop up over it and there will be a value (in this case 0.95) shown below the image.
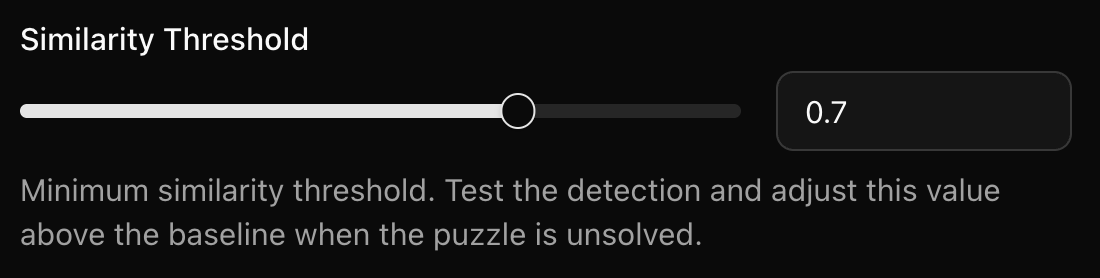
These values inform where to place the Similarity Threshold for this detection. The value defaults to 0.7 and can be left at that value in most cases.
Once you’ve tested your detection to verify it is finding your areas of interest, hit Submit and move onto the next camera.
Adding Reset Devices
If your game is correctly reset, adding reset devices is incredibly easy. All you have to do is hit the Sync Devices button and all devices will be added in their current state.
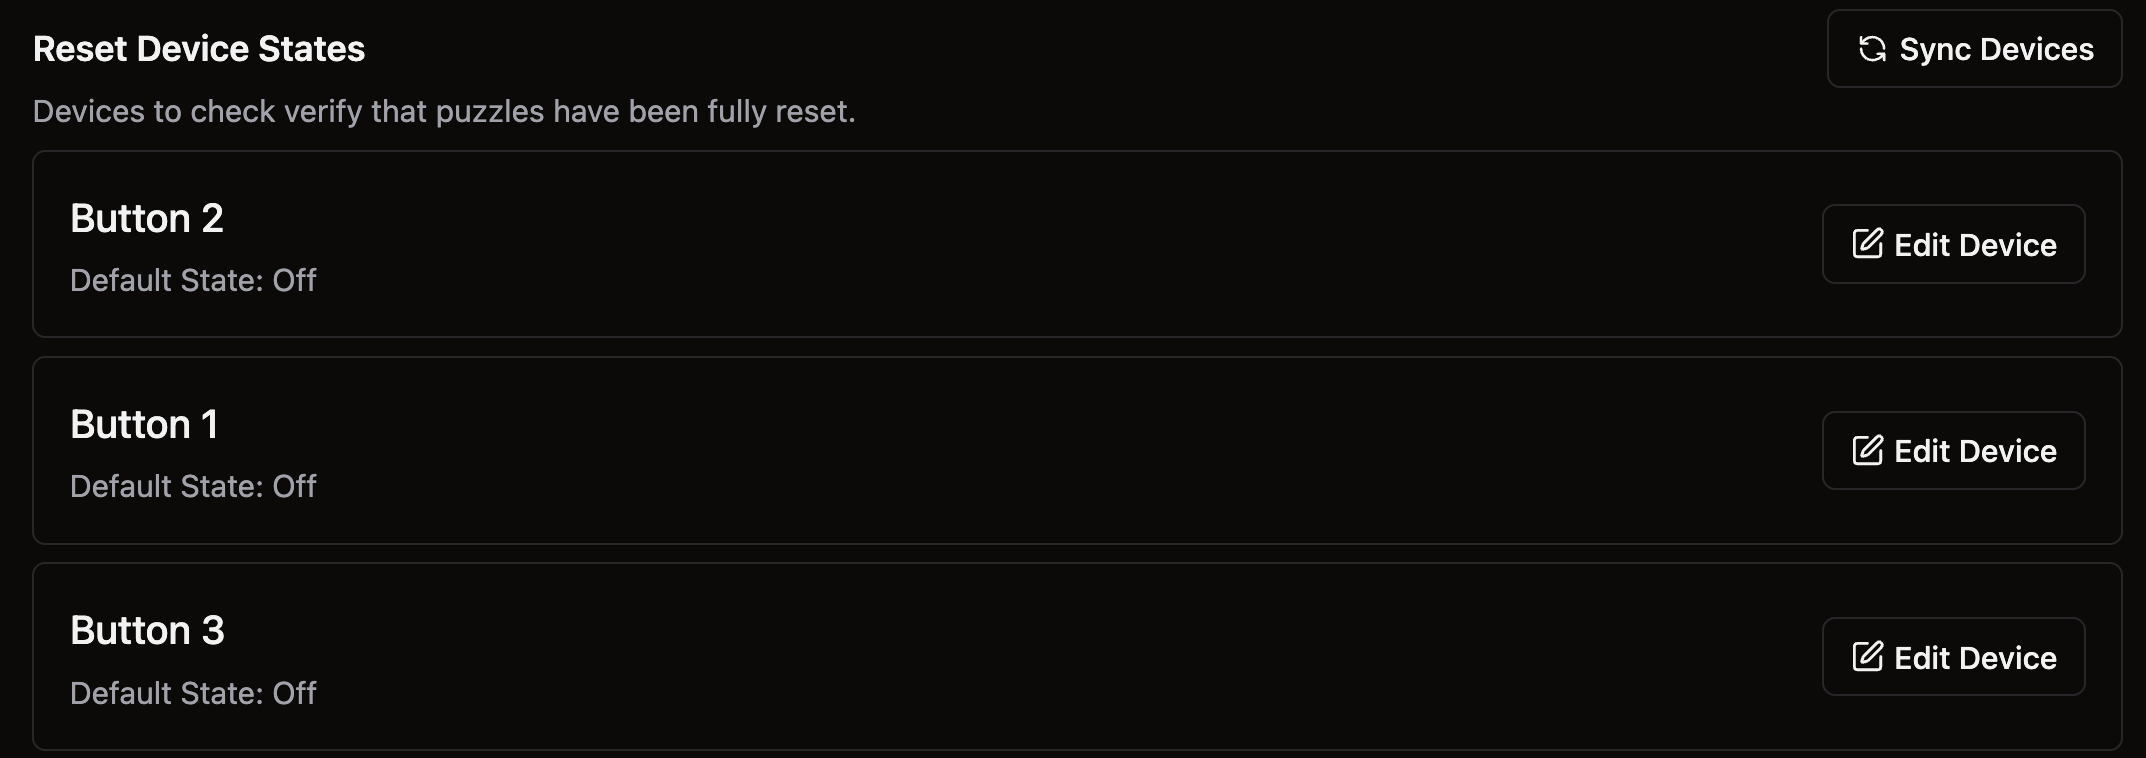
Once devices are added, you can change the state they should be in if any are incorrect. You can also delete devices from Reset Scan if their state doesn’t matter for resets.
That’s all for devices!
Check Resets
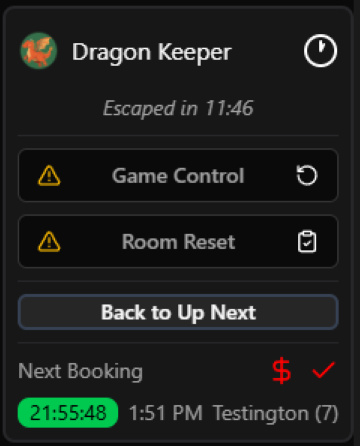
Once reset scan is enabled, a new icon will appear on the Overview Page.

If the icon is green, it means Reset Scan did not find any issues with the reset.
If the icon is gray, it means Reset Scan has not run on this room. You can click the button to manually run a scan.
If the icon is red, it means Reset Scan found an issue with this reset.
While Reset scan is running, it will pulse slowly. If it is yellow, that means it anticipates that there will be an issue in the reset.

Scan Details
When you click on the Reset Scan icon, a menu will pop up.
The first page of this menu will show all devices for the game. Devices highlighted in green are in the correct state. If any devices are in the wrong state, they’ll be highlighted red and brought to the front. You can also see the totals for what devices and detections are correct.
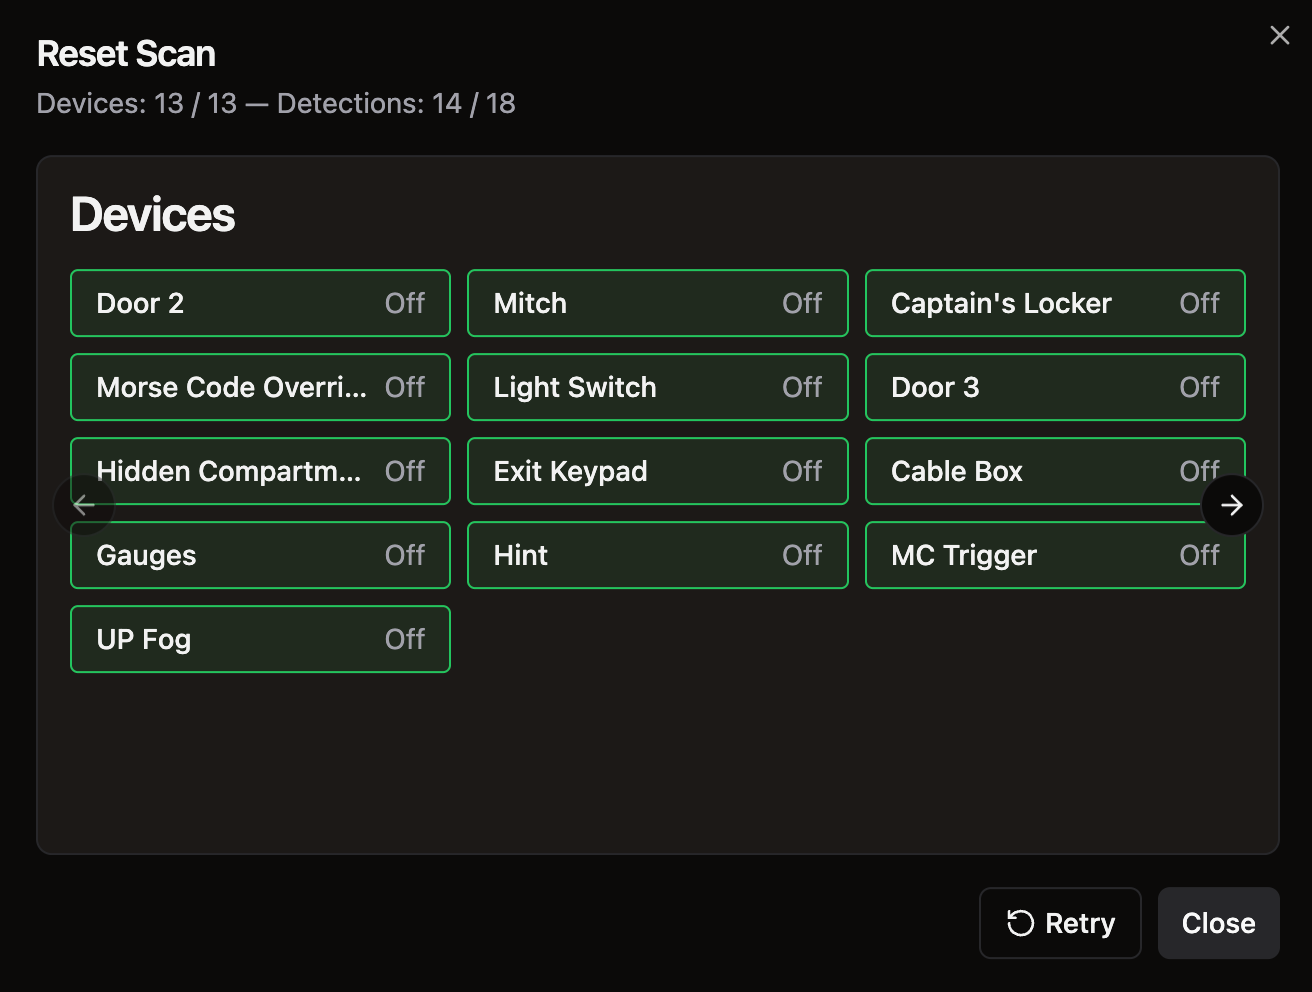
Using the arrows, you can scroll through to see the detection results for this scan. Any detections that came up incorrect will have red boxes and any that were correct will have green boxes. Incorrect detections will appear at the front of this photo carousel.
If you’d like to add a new reference image, you can add it from this menu using the “Save as a Reference” button.
If an issue was corrected and you’d like to run the scan again, you can hit the Retry button in this menu and the scan will run again.
If resetting your game automatically turns on “Go-Time Lights” that turn lights off in secondary rooms, Reset Scan will not be able to verify that the room is reset correctly. Cameras will either need to be set to night mode so they can see in the dark or light controls will need to be changed to provide some illumination while the game is idle.
Historical Reset Scans
Historical Reset Scans can be viewed in Settings → Game Settings → GameSense → Reset Scan and then scrolling all the way to the bottom. Reset Scans are saved for 7 days.
Common Items Found with Reset Scan
Some quick examples of incorrectly reset items we’ve found with Reset Scan!