DMX Device Controls
Adding DMX device control to Drawbridge and custom Actions for light control during games.
Written By Emma Williams
Last updated 22 days ago
Adding a DMX Controller to Drawbridge
Navigate to Settings → Devices (under Integrations) → DMX.
Click Add New Controller.
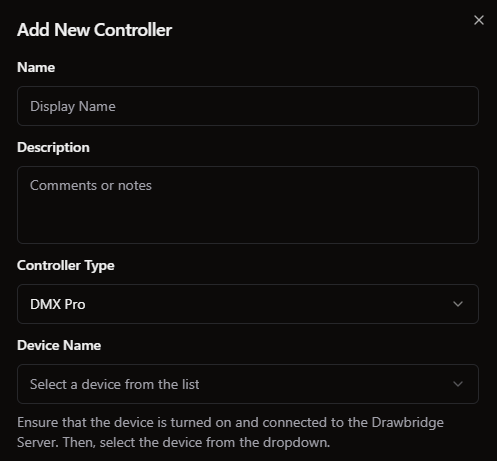
Depending on your controller, you’ll select either DMX Pro or sACN:
DMX Pro controllers will need to be plugged directly into your Drawbridge Server via USB.
sACN controllers will be found over the network, but you’ll need to input the IP address and universe for the controller.
From there, name your device and add it to Drawbridge.
Now that the controller is connected, you’ll be able to assign light fixtures on that controller to games.
Adding a DMX Light to a Playbook
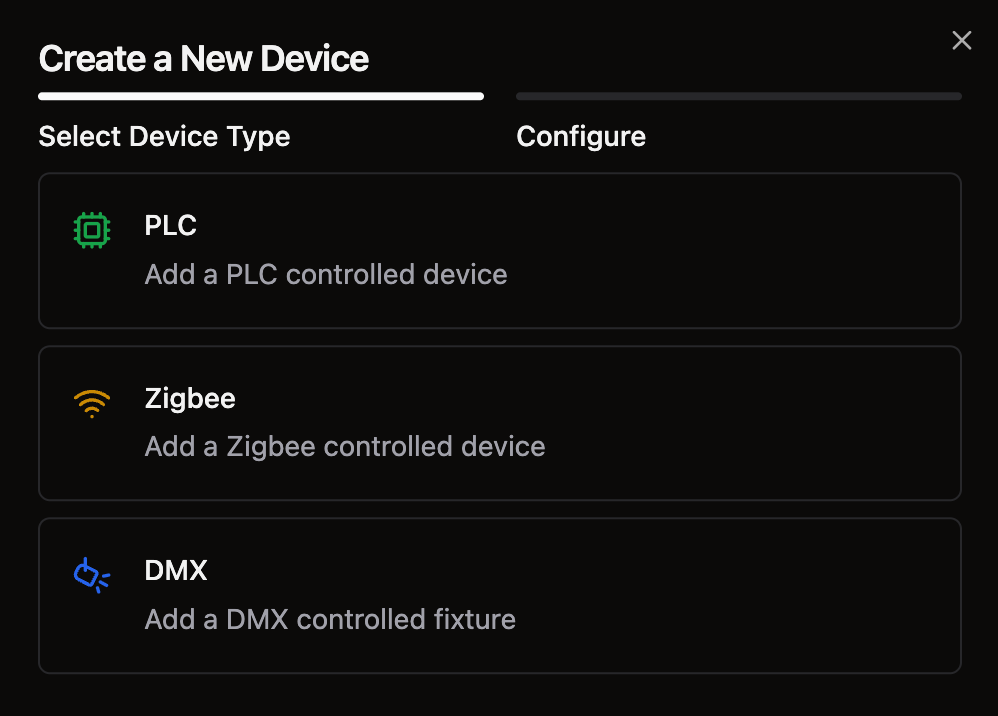
Navigate to Settings → Game Settings → Playbook → Devices. Select New Device and pick what kind you’d like to add - PLC controlled, Zigbee, or in our case: DMX.
DMX light control settings:
Select the relevant DMX controller (the one you set up earlier).
Give this light a name and a starting channel. The starting channel is how you differentiate between lights on this controller. Methods for identifying this can vary based on your light; however, some common ways to find and set the starting channel can be a display/QR code on the back of the individual light or through an app. Assign the light a name in Drawbridge for easy identification once configured.
Depending on your light, you’ll have a different number of channels with different functions. Using your device manual, you should be able to identify what channels your device has and what they do. The image below shows a light with 6 channels.
You can set the color of the light by clicking Set RGB and selecting on the color wheel. This will automatically set Red, Green, and Blue channels to make that color. Channel values can range from 0 to 255.
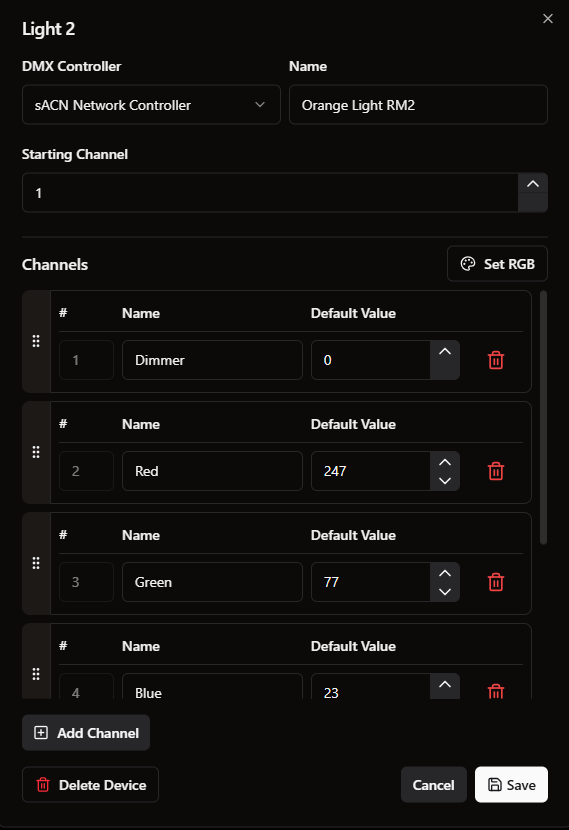
Note that some lights have a Dimmer or Intensity channel that must be set in order to turn on the light.
Hit Save to add your DMX controller to your game. From here, you’ll need to set up Actions to configure what your lights do during a game.
DMX Light Actions
To configure lights to change during a game, on reset, or when idle, you’ll need to set up Actions. Navigate to Settings → Game Settings → Playbook → Actions.
Add a new Action:
Give the Action a name and description if needed.
Designate if it should be triggerable to GMs or run in the background.
Set conditions for when the Action should occur.
When - Triggers
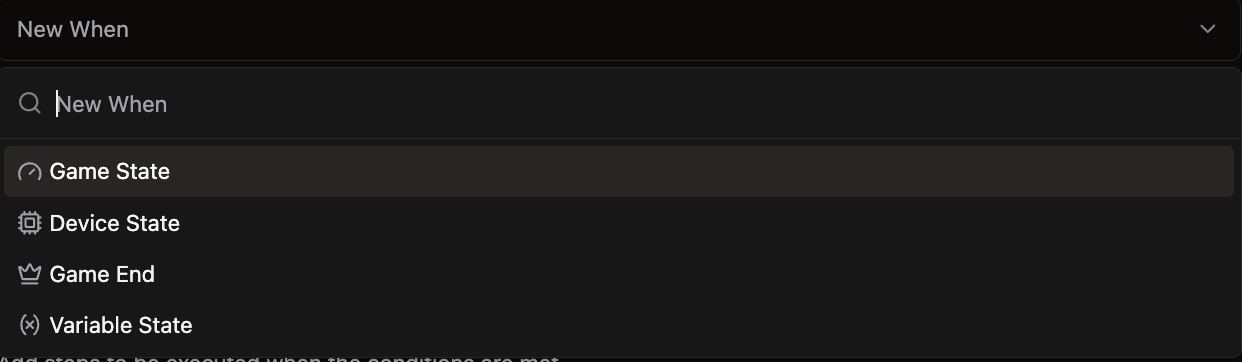
Actions can be triggered by:
Game States - Running, Idle, Resetting, etc
Device States - When a device is turned on or off
Game End - When the game is completed
Multiple When triggers can be configured. You can also add If conditions.
If - Conditions
If conditions are secondary conditions that must be met before the Action will proceed. This can be left empty if there is only one trigger condition.
Use If conditions when you have multiple requirements for an Action. If you want a light to change only when the game is running and a specific puzzle is completed, you would use both conditions.
The When trigger would be a Device State change to On.
The If condition would be Game State = Running.
The When trigger causes the system to check to see if the If condition is met. So it would see the Device State change and then go check to see if the Game State = Running before triggering the Action. If done the other way, the Action would still work, but it would check to see if the Device State was on for the entire duration of the Game Running.
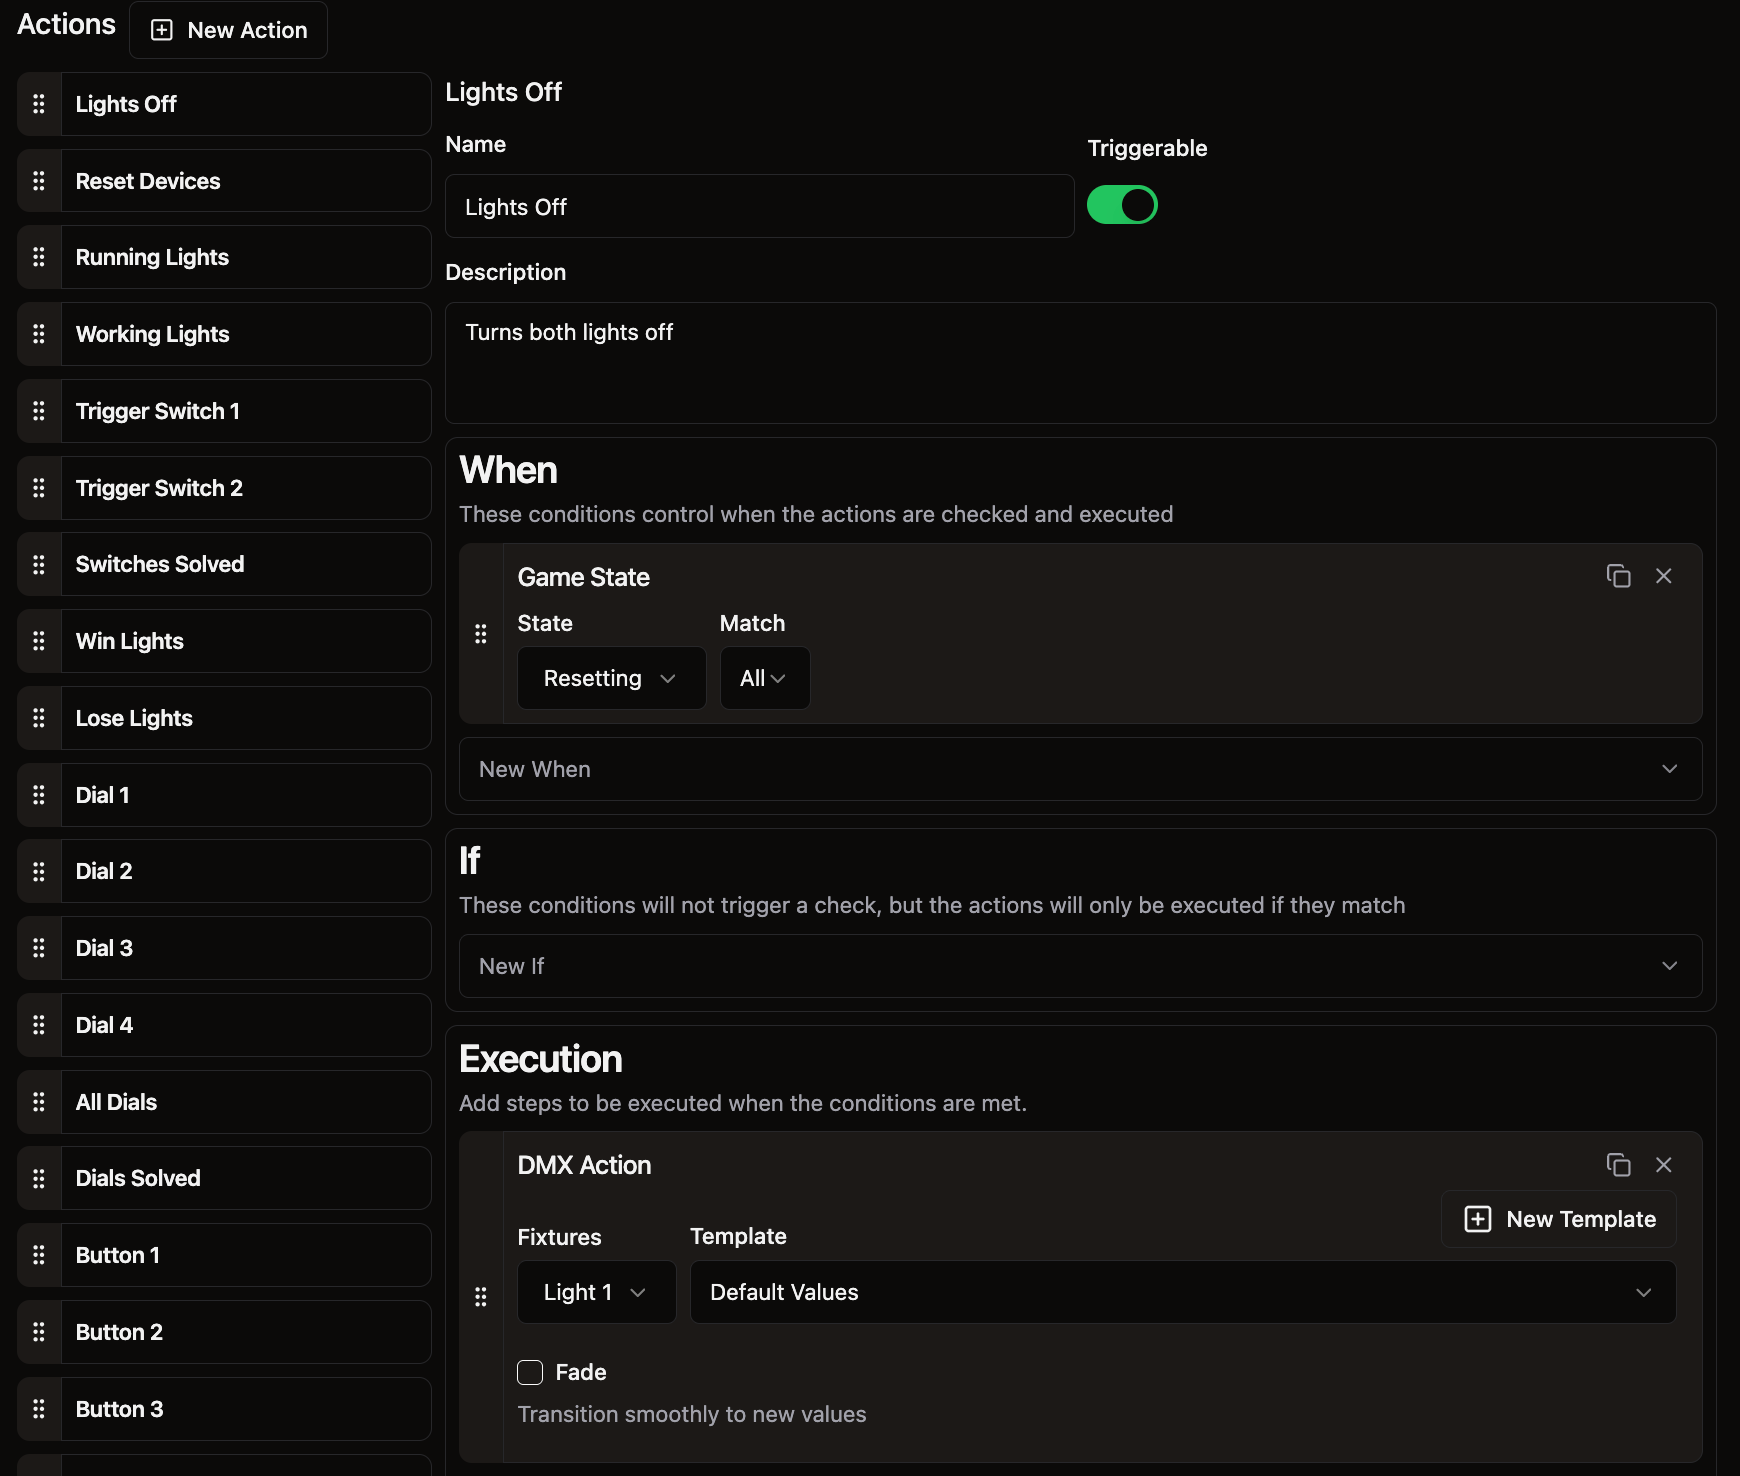
Execution - Results
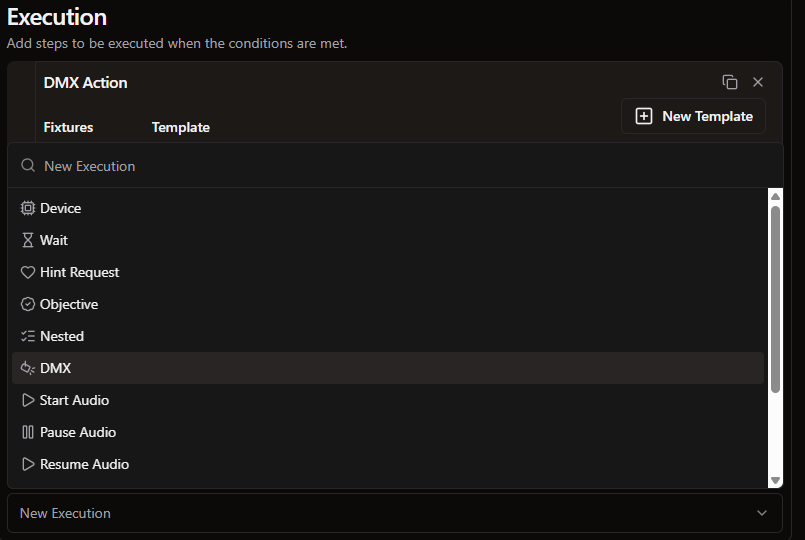
Executions occur when conditions are met.
In our case, we will add a new execution for DMX and click Add Action.
Select the light name (or multiple lights if needed) under Fixtures and create a new template. Here, you’ll input settings for whatever you’d like the light to change to when this Action is executed.
Name your template, and set the values using the Set RGB button to select the color.

If this is a color that needs to be applied to multiple games, you can create a template that will save these channel settings and allow you to select them for other devices and executions.
When sharing templates across lights, always make sure that each light fixture that uses the template has the same number of channels.
Save your template and select it.
You can also select if you’d like to fade from the old light color to the new color and how long the transition should take by clicking the Fade checkbox.